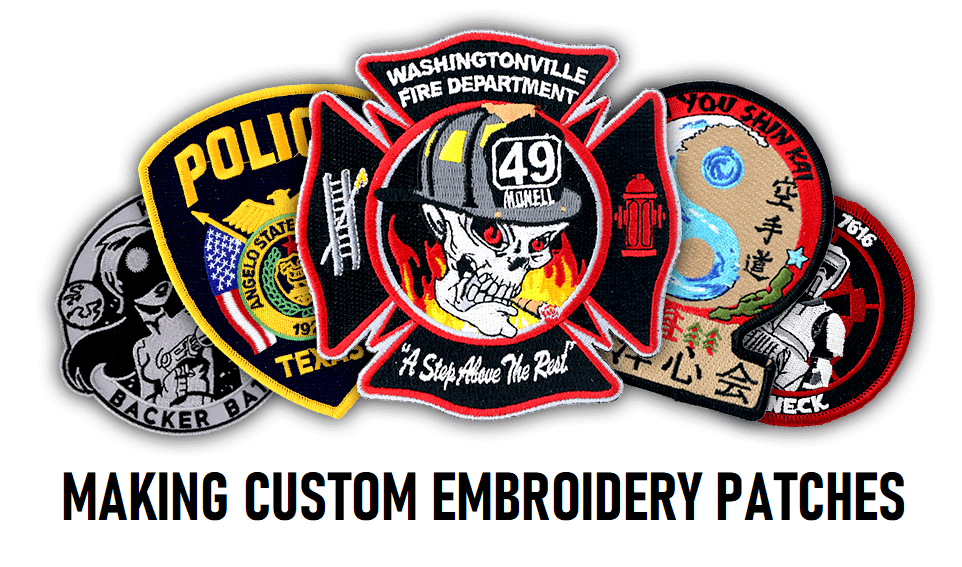
Embroidery patches are not a new concept but a relatively new crafting trend. And with the resurgence of all things DIY, it’s no wonder this craft is becoming increasingly popular. Custom embroidery patches are a great way to add a personal touch to just about anything- from clothes and accessories to home décor.
This blog post will guide you on how to make custom embroidery patches, step by step. With a bit of time and effort, you’ll be able to add a unique flair to anything and everything! But before we make Patch 1.0, let’s first explore the world of embroidery patches.
What are Embroidery Patches?
Have you ever seen a colorful patch on a jean jacket or a scout uniform and wondered, “What is that?” Embroidery patches are fabric designs embellished with thread, and you can fix them on clothing or other materials. Unlike iron-on patches, embroidery patches are not heat-activated. Instead, they’re stitching onto the fabric using a needle and thread (or a sewing machine).
How to Make Custom Embroidery Patches?
Every crafter’s dream is to make things from scratch, but let’s be honest- that’s not always possible (or necessary). When it comes to embroidery patches, you have two options:
- Buy a pre-made patch design
- Create your design
Buying a pre-made patch is totally understandable if you’re short on time or not confident in your design skills. But if you’re feeling crafty and up for a challenge, making your design is the way to go!
Here’s a step-by-step guide on how to make custom embroidery patches. We will cover three methods: hand embroidery, machine embroidery, and appliqué.
Method 1: Hand Embroidery
Our hands are not less than any machine when it comes to embroidery. Hand embroidery is definitely the way to go if you’re looking for a more personal touch or working on a small patch. You only need a needle, thread, fabric, and your chosen design.
Required Material
- Needle
- Thread (color of your choice)
- Scissors
- Design (printed on a piece of paper)
- Fabric (we recommend felt)
- Water-soluble pen or pencil
- Embroidery hoop (optional)
Instructions:
Start by tracing your design onto the fabric using a water-soluble pen or pencil. If you’re using a hoop, place the fabric in it now.
Tie a knot at the end of your thread and start stitching! We recommend using a basic stitch like a backstitch or running stitch. If you’re unsure how to do these stitches, there are plenty of online tutorials. Just do a quick search, and you’ll be stitching.
When stitching, be sure to anchor your thread every few stitches. To do this, insert the needle into the fabric and pull through until there is a small loop on the surface. Then, insert the needle into the loop and pull through until it’s tight. This will prevent your thread from coming undone.
Then, continue stitching until your design is complete. Once finished, cut off the excess thread and remove the fabric from the hoop (if using one).
And that’s it! You’ve made your very first hand-embroidered patch.
Method 2: Machine Embroidery
Machine embroidery is the way to go if you’re looking for a faster method or working on a larger patch. All you need is an embroidery machine, thread, stabilizer, and your chosen design.
Required Material
- Embroidery Machine
- Thread
- Stabilizer
- Design
Instructions
- First, you’ll need to hoop your stabilizer. This will keep your fabric from shifting while you’re embroidering.
- Next, load your design into the machine by uploading it to the embroidery software.
- Once your design is loaded, you’ll need to select the stitch type and color. I recommend you use a satin stitch for the border and fill stitches for the design’s interior.
- After your design is all set, hit start and let the machine do its work!
One of the great things about machine embroidery is that you can add details that you couldn’t otherwise achieve with hand embroidery. Things like gradients and subtle shading can make your patch pop. The Brother SE1900 or Brother PE800 Embroidery Machine are the best ones for making custom embroidery patches.
Method 3: Applique
Not into sewing? No problem! You can also make embroidery patches using the quilting method. In the olden days, this was the only way to create patches. And believe me, the patches made using this method are just as beautiful (if not more so) than the other methods. It’s very similar to hand embroidery, but instead of stitching the design onto the fabric, you’ll be appliquéing it.
Let me share the difference between applique and embroidery with you. Appliqué is when you sew a piece of fabric onto another piece of fabric. On the other hand, embroidery is when you stitch a design onto fabric using thread.
For this method, you’ll need a needle, thread, fabric, batting, and your chosen design.
Required Material
- Batting
- Fabric
- Scissors
- Needle
- Thread
- Design
Instructions:
- Cut a piece of batting slightly larger than your design.
- Trace your design onto the wrong side of the fabric.
- Cut out the design, leaving a ¼” seam allowance.
- Pin the fabric onto the batting.
- Sew around the design using a small stitch length. Be sure to backstitch at the beginning and end of your stitching.
- Trim the batting close to the stitching.
- Turn the patch right side out and press.
And that’s it! You’ve now made a beautiful quilted embroidery patch.
Conclusion
Looking at something and turning it into an embroidery design can be challenging but fun. Once you get the hang of it, there will be no stopping you from making some fantastic patches for yourself or as gifts. But when making embroidery patches, always remember to use a stabilizer to keep the fabric from shifting.
And if you opt for an embroidery machine, ensure you have the best embroidery machine for patches. With the help of this guide, you will be able to make some beautiful embroidery patches in no time!